Back to the drawing board, genius!
January 3, 2011 - TF2 Team
One of the requests we've gotten from community item contributors has been for an easier way to test their creations. We're pleased to announce that last friday's update included a beta version of our new item testing system. Some folks over at the Official TF2 Wiki have already found it and started documenting the system, but we wanted to provide some more information on what's there, and where we're going with it.
There are two main steps to making items that we think need addressing:
- Building the MDL file.
- Testing the item in-game.
The item testing system covered in this post is focused on the latter, but we're working on another tool that'll make the first step much easier too, and we'll talk about that when it's closer to release.
So, once you've got your MDL compiled, and placed it in the correct directory under TF (see below), start up TF2.
- At the main menu, bring down the console (if you haven't done it already, you'll need to enable the Developer Console) and bind a key to "testitem". Then, load the item_test map by entering this console command: "map item_test". Once the map has finished loading, pick a team & class, and you'll find yourself in the item testing room.
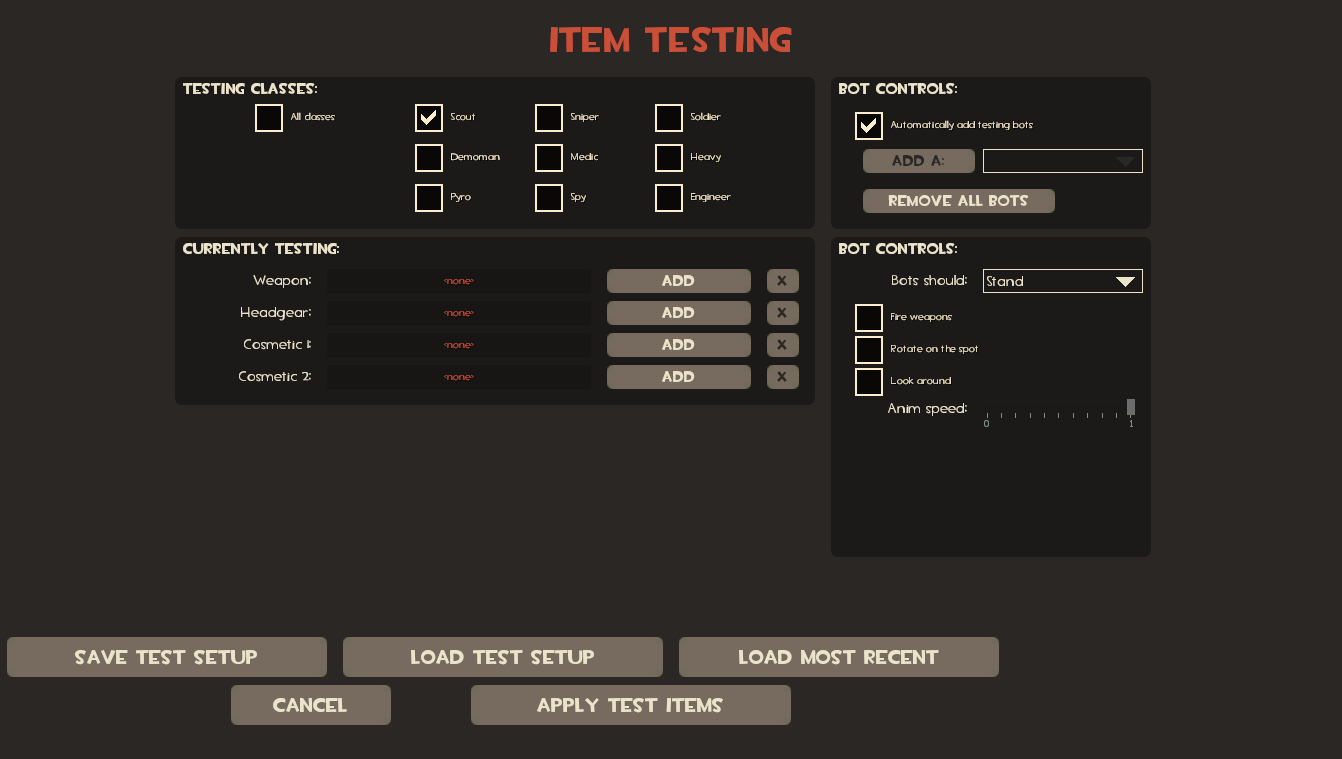
- While in the item testing map, you can hit your testitem key to bring up the item testing dialog.
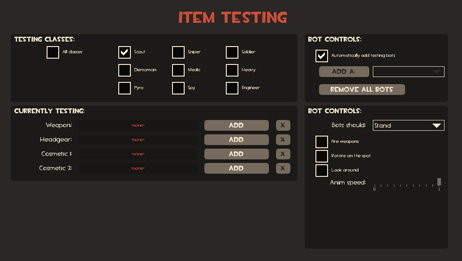
- The dialog allows you to test up to four items at once. Specify which classes you want to be able to wear the item(s) you're testing. Note that if you pick a weapon, you'll be asked to select an existing weapon to test with, and you'll be restricted to what classes are able to use that weapon (for instance, shotguns can only be used by Solder, Heavy, Pyro, and Engineer, so you can't test a shotgun replacement with all classes. Most weapons are only usable by a single class.)
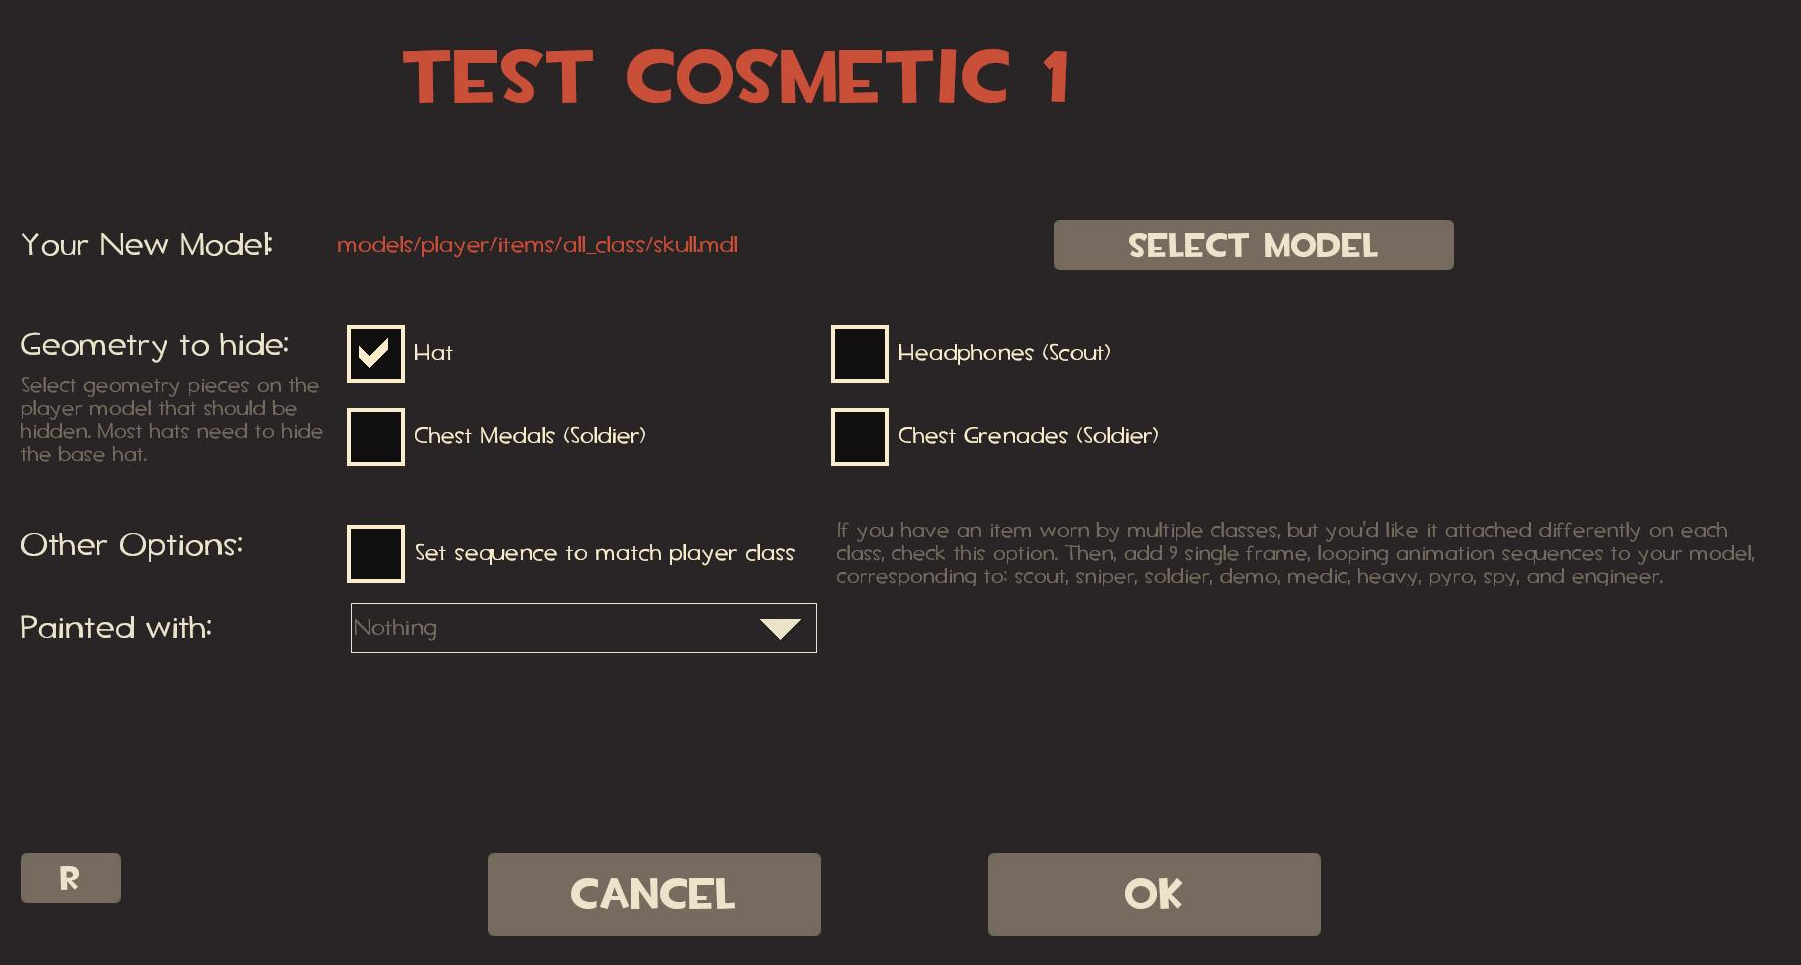
- Click the "Add" buttons in the item slots to bring up the "Add Item" dialog.
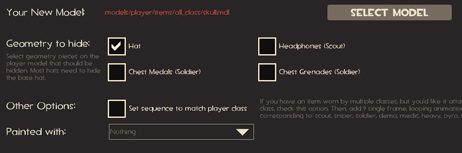
- Here, you can select your MDL file. The directory the File Open dialog opens to is the directory in which your MDL should be placed. For instance, if it's an Engineer item, it should be in the 'tf\models\player\items\engineer' directory. If it's an all-class item, it should be in tf\models\player\items\all_class' directory.
- Other options are available here, and the explanation text should hopefully handle it. You can select a paint to see how your hat looks in the various paint colors. If your item is an all-class item, and needs to be positioned differently for each class, select the 'Set Sequence to match player class' option, and follow the instructions to the right of the checkbox.
Once you're ready to see your items, hit the Apply Test Items button. If you've left the 'Automatically add testing bots' checkbox checked, the game will automatically spawn the right bots for the items you're testing, and equip them with the items. If you're testing a weapon, it'll also give you that weapon so that you can see it in the viewmodel (note that you'll have to change to one of your testing player classes to see it).
Other tips:
- If you want to see the player in various animation states while wearing your items, you can use the Bot Controls section on the right. If you want to make changes to the Bot Controls while looking at a bot, you can bind a key to "testitem_botcontrols", which will bring up a smaller dialog with just the Bot Controls section.
- You can use the Save & Load Test Setup buttons to quickly save & load a set of items that you're testing while you work on them. The Load Most Recent button will load the last test setup you saved.
- You can test your submissions alongside existing TF2 items by adding the existing item's models to your test setup. We'll be adding functionality to make this easier in the next update to this testing system.
This is an early release of this system, and we have plans to improve upon it in significant ways. We released it now because it's still a significant step above the existing hacks that contributors had to use, and we're hoping that this early glimpse will allow contributors to give us some feedback on it. So, if you're working on item contributions, please take a shot at using it, and let us know what you think.